16 Oct 2020 | Beauty & Care, Health
October is the Breast Cancer Awareness Month and I decided to prepare a blog post with infographics to help women understand how to do a breast self-exam. I was never taught how to do it, I only knew you’re supposed to check yourself. But no one told me how, what to pay attention to. I can blame it on the poor (or basically non-existing) sex education in Poland, but I hope that days when it’s awkward to talk about checking your breasts are gone. I have a history of breast cancer in my family, and I know I’m not the only one.
“There are about 1.38 million new cases and 458 000 deaths from breast cancer each year (IARC Globocan, 2008). Breast cancer is by far the most common cancer in women worldwide, both in the developed and developing countries. Currently there is not sufficient knowledge on the causes of breast cancer, therefore, early detection of the disease remains the cornerstone of breast cancer control. When breast cancer is detected early, and if adequate diagnosis and treatment are available, there is a good chance that breast cancer can be cured.” – says World Health Organisation.
And self-exam is the easiest, free method of making sure nothing is wrong with your breasts. I prepared the illustrations and the guidelines based on breastcancer.org website, as I wanted to be sure they’re accurate and actually helpful. Yet, since I’m all for showing diverse beauty of women’s bodies and didn’t find women of different ages, shapes and skin colors on the illustrations for self-exam, I did my own ones. At the end there’s a file which puts them all together – I hope you can download it, print it or save it somewhere and do your breast self-exam every month.

1. Choose one day and stick to it
It’s easier to be systematic when you’ve dedicated one day of the month to do the checkup. Alternatively, you can always choose a specific day of your cycle. The best is to examine yourself several days after your period ends, when your breasts are least likely to be swollen and tender. If you are no longer having periods, choose a day that’s easy to remember, such as the first or last day of the month.

2. Mirror check – overall look
Begin by looking at your breasts in the mirror with your shoulders straight. Remember: most women have breasts that are uneven, have different shapes or size. That’s not a reason to be concerned, that’s normal and beautiful, even though popular culture tends to forget about it. You’re not here to judge the way your boobs look, you’re here to make sure they’re healthy. All breasts are great – small, big, droopy, perky, round or long. But to enjoy them, you need to check if they’re healthy.
Here’s what you should look for:
- Breasts that are their usual size, shape, and color
- Breasts that are evenly shaped without visible distortion or swelling
If you see any of the following changes, bring them to your doctor’s attention:
- Dimpling, puckering, or bulging of the skin
- Redness, soreness, rash, or swelling

3. Mirror check – nipples
Now have a closer look at your nipples – the spot forbidden across all social media channels. Finally you don’t have to blur them, just enjoy seeing the natural wonder. For many women their nipples are erogenous zones, and a research has shown that the sensation from the nipples travels to the same part of the brain as sensations from the vagina, clitoris and cervix. Another reason to look proudly at your nipples. Again: don’t worry if the way they look matches with what society considers pretty. Nipples vary in size and color and that’s totally normal. Hopefully you don’t see anything new, but make sure to notice if:
- A nipple has changed its position
- A nipple is inverted (pushed inward instead of sticking out)
- There are any signs of fluid coming out of one or both nipples (this could be a watery, milky, or yellow fluid or blood)

4. Mirror check – arms raised
Now, raise your arms and look for the same changes.

5. Check-up while lying down
This one deserves more work, but hey – at least you’re lying down. You’re going to mow a lawn with your fingertips now, going up and down your breasts. Be sure to feel all the tissue from the front to the back of your breasts: for the skin and tissue just beneath, use light pressure; use medium pressure for tissue in the middle of your breasts; use firm pressure for the deep tissue in the back. When you’ve reached the deep tissue, you should be able to feel down to your ribcage.
Use your left hand to feel the right breast and your right hand to feel the left breast. Use a firm, smooth touch with the first few finger pads of your hand, keeping the fingers flat and together. Cover the entire breast from top to bottom, side to side — from your collarbone to the top of your abdomen, and from your armpit to your cleavage.

6. Shower check-up
Finally, repeat the movements from step 5 when you’re in the shower – your skin will be more slippery and thus allowing you to spot something you might have missed before. Hopefully everything was fine and you can enjoy the shower, maybe add some singing as well.
That’s it!
What if you found something suspicious? First of all don’t panic. It could be many things other than cancer. Smooth, moveable lumps often indicate a cyst. It is not unusual for lumps to appear at certain times of the month, but then disappear, as your body changes with the menstrual cycle (if you are still menstruating). But do check in with your doctor’s offIce to make sure it’s nothing to be worried about.
Remember that the self-exam is only a part of breast cancer prevention. You should have your breasts checked by a doctor every year. For women at average risk, screening mammograms should be performed annually beginning at age 40 to check the breasts for any early signs of breast cancer.

Feel free to download it and print as a poster

12 May 2020 | Beauty & Care, DIY
I decided to create a series of blog posts about simple pleasures we can enjoy during the coronavirus lockdown. The all need to be: A) cheap (or free), B) easy to make at home, C) give you a chance to unwind and relax. Today my first episode about Home DIY Spa with recipes to try out!
1. Finding place and time
As long as the world exists, there will be always the ones who prefer bath and the ones who prefer shower. Regardless of which group you belong to, it’s a wonderful way to calm down. It doesn’t matter if your bathroom looks like Cleopatra’s baths – make the most of what you have. The decision you make to dedicate this time yourself is the most important.
Don’t be shy about it – tell your partner, roommates that you will need the bathroom for an hour (or as much as you want/can) and you don’t want to get disturbed during that time. If you want music – bring it on, but if you’re using your phone – please silence it for that time. No need for the outer world to notify you of its existence.
Think of what brings you pleasure and try to achieve it with what you already have in your bathroom/house. Think of the order in which you will use them and prepare them at hand – if you go to SPA, you never get a random treatment in the middle of something else.
Good preparation will help you enjoy every moment, without stressful running out of the shower, because you forgot the towel from your bedroom. It will also help you make the most of the time you have for yourself – you can shave your legs while having a mask on your hair, or paint your nails when you have a face mask etc. For once women use your wonderful multitasking skills for the sake of no one else but yourselves.
3. Make your own cosmetics
If you want, plan it ahead of time, then you can even make your home made cosmetics. We’re so used to getting everything at drugstores, when a lot of wonderful beauty ingredients we have at home.
And whereas creating your own facial cream is a next level (making sure it’s not going to irritate you, adding preservatives etc), the cosmetics your rinse off are much easier to make and basically error-free. Here are my favorites (names by me ;-):
INGREDIENTS:
2 teaspoons of honey
1 egg yolk
1/2 table spoon spirulina
1 table spoon of your conditioner (for the right texture and easy application)
1 table spoon oil of your choice (I use sunflower oil most of the time)
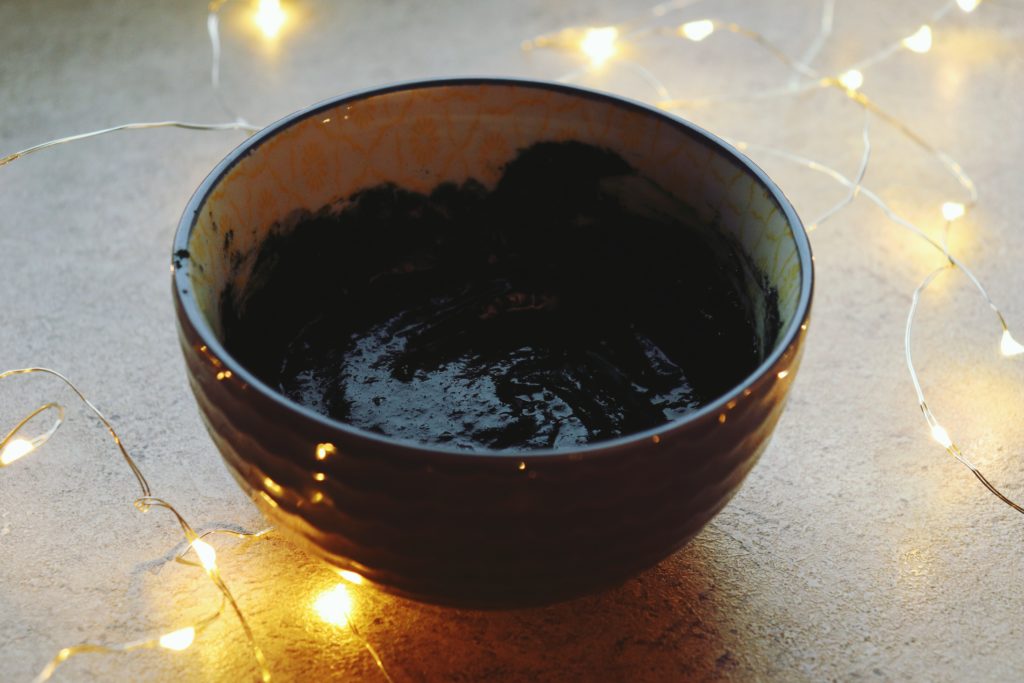
HOW TO: Mix all the ingredients in a small bowl and put it on dry hair (if you put it on wet hair it will start dripping pretty quickly – trust me, I made this mistake at first). Leave it for 40-60 minutes – it’s pretty dense, no need to worry about dripping when the hair was dry. Spirulina gives it dark green color, but is safe for both your skin, hair and clothes – I tested it on me.
WHY IT WORKS: You may never have thought about it, but there are different ways in which you can hydrate your skin/hair. Three major categories of the substances are: proteins, emollients and humectants, in short PEH.
Only when they are in right balance, your hair will look healthy and you will not have problems with their structure, curliness or shape.
Proteins
are amino acids and biomolecules responsible for composing hair structure – your hair is made in 95% of keratin, a type of protein. The amount of proteins you should take in depends on your hair porosity (easiest way to test it is a float test: take a couple of strands of hair from your comb or brush and drop them into a bowl of water. Let them sit for 2-4 minutes. If your hair floats, you have low porosity. If it sinks, you have high porosity). High porosity hair tolerate larger amounts of protein much better than the low porosity ones, in which it can cause loss of volume. Types of proteins found in beauty products: silk, collagen, keratin, elastin, wheat/maze proteins.
Emolients
prevent water loss from inner hair structures and damage – basically think of them as a form of a raincoat for your hair or skin. Any form of oil is an emollient, but also shea butter, silicones or paraffin wax (the latter two not recommended for curly hair). If you lack moisture in your hair/skin, emollient is not going to make it better – covering it with a waterproof coating will not make it moist.
Humectants
That’s why you need humectants – hydroscopic substances that attract water molecules and store it in your hair. But it all depends on the weather and humidity – if you’re in a humid environment, you will probably don’t need any humectants at all. Popular humectants are: urea, hyaluronic acid, glycerin, d-panthenol, aloe.
As you can see now, this mask has all the 3 PEH ingredients:
- proteins from spirulina,
- emollients from egg yolk and oil,
- humectants from honey.
I use the mask around once a month, when I feel that my hair is just not at its best and don’t really know which one of the 3 I am missing.
I discovered this mask on a Polish blog about curly hair zakrecovnia.pl
The Glow-Getter Sugar Scrub
INGREDIENTS:
1 cup of brown or cane sugar
3-5 table spoons of olive oil
1 spoon of lemon juice
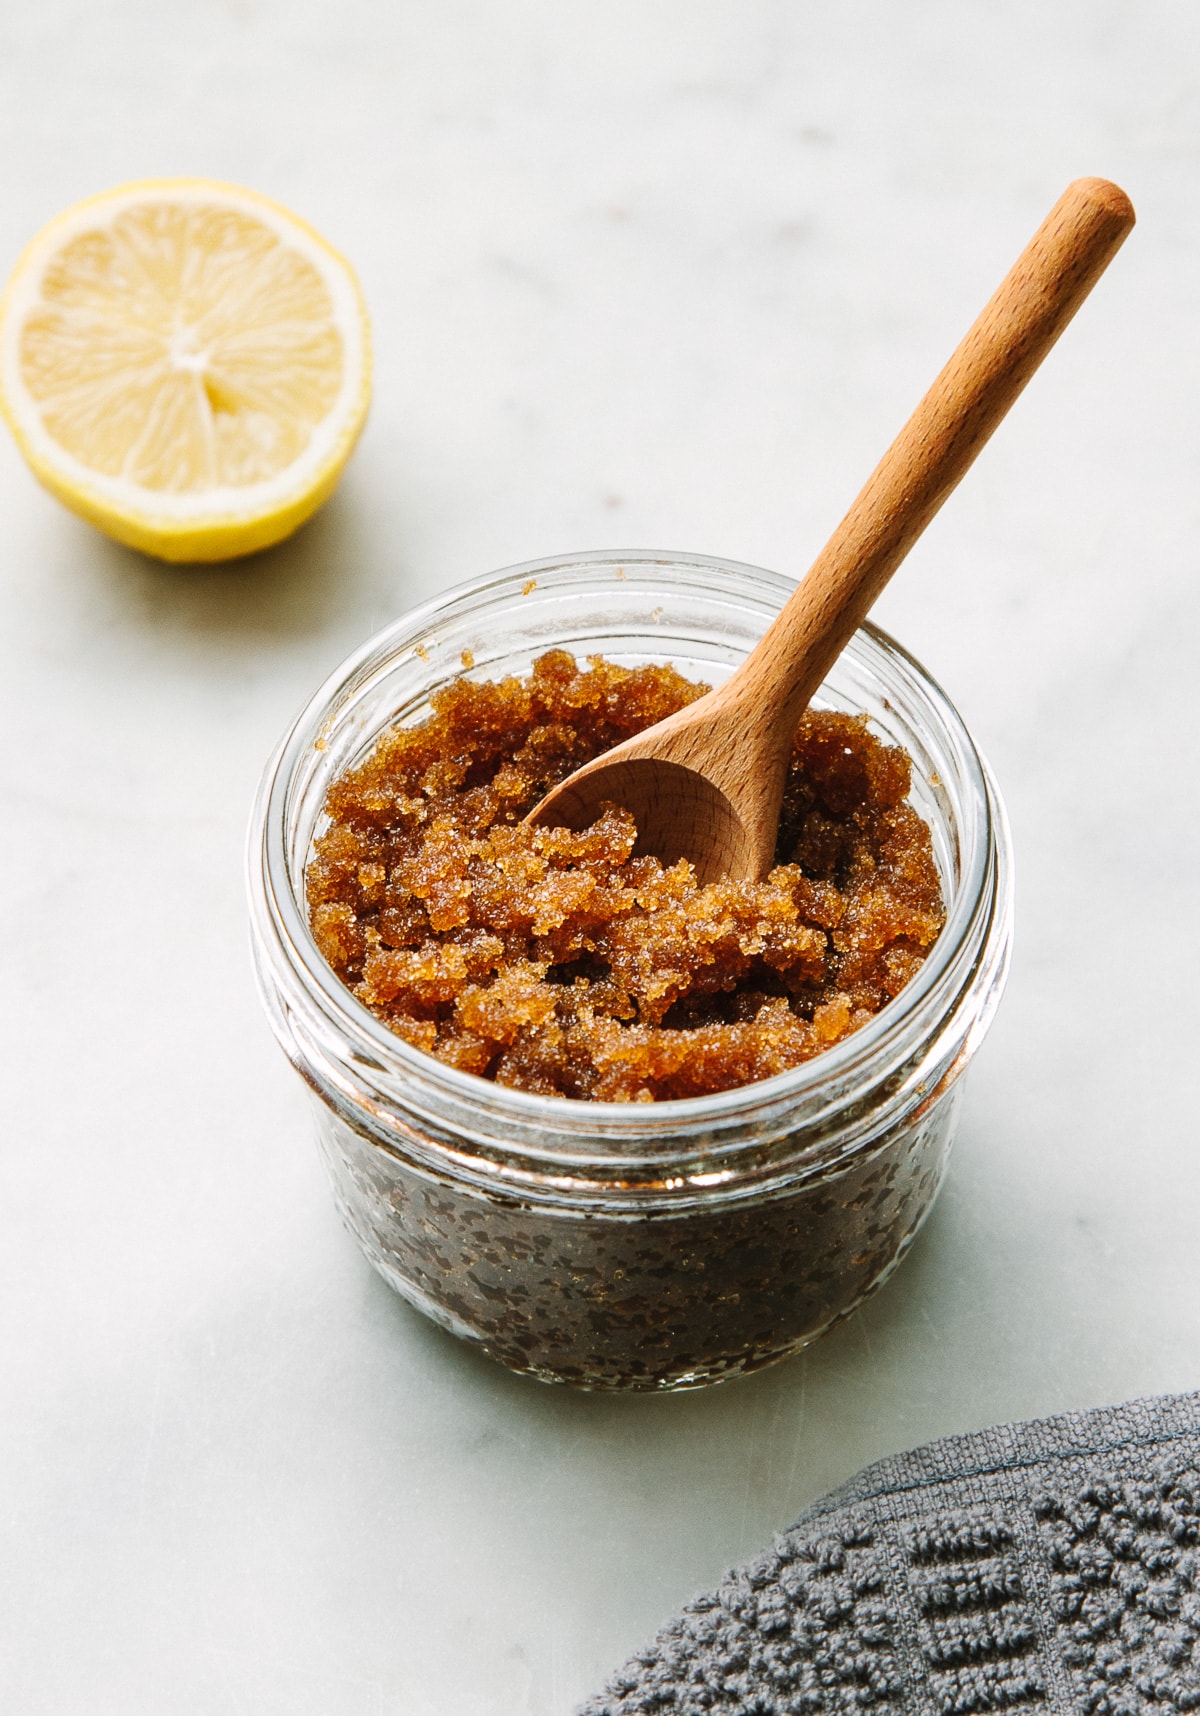
HOW TO: Put sugar into a small container (it will last for around a month so your can use an old cosmetic container or a jar if you would like to keep it). Slowly add olive oil, until the texture gets sandy. The sugar shouldn’t bee swimming in olive oil, as it will dissolve within a few days and not do its job. If you added to much olive oil – add a bit more sugar, and vice versa. Best used after the shower or bath – water loosens the skin and makes it easier to get rid of the dead skin cells.
WHY IT WORKS: Olive oil is know as a “humectant”, which means it draws moisture into our skin. Sugar contains glycolic acid, which helps dissolve dead skin cells. Lemon adds the aroma and has plenty alpha hydroxy acid (AHA), which help exfoliation (but the amount is small enough to not make it dangerous in any way).
I found this recipe on The Simple Veganista blog and simplified it.
The Cocoloco Leave-in Hair Conditioner
INGREDIENTS:
¼ cup distilled water (or tap water that has been boiled for 5 minutes and allowed to cool)
1 table spoon coconut milk
2 – 10 drops essential oil (optional)
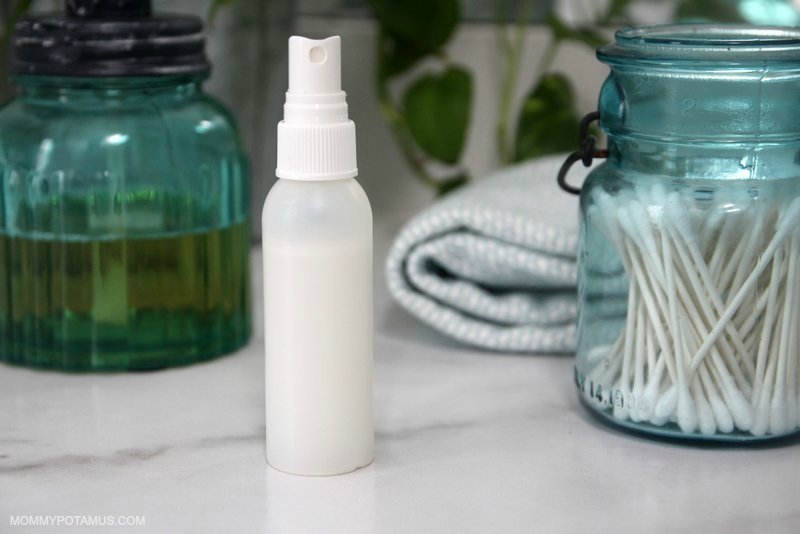
HOW TO: Start by adding the essential oil to coconut milk, if you’re using them. Then dilute the coconut milk with water, pour it into a spray bottle (I usually use an old spray bottle left from some other cosmetics but you can also buy a new one at a drugstore in the travel section). That’s it! So simple! Since it doesn’t have any preservatives, it’s better to prepare a small batch and use within a week and keep refrigerated. When using, you just spray damp hair with the conditioner after washing it and air or blow dry – as you please.
WHY IT WORKS: Coconut milk is high in lauric acid, known for its ability to moisturize the hair and strengthen the cuticle. It also has a high protein profile, and that’s what your hair is mostly made of, hence keeps them in good condition.
This was my first experience with home made cosmetics – I was in Lisbon, without my usual go-to hair cosmetics and decided to experiment a bit. I found this extremely simple recipe on
Mommypotamus blog and loved the results.
by Monika Kozub | 30 September 2022 | Illustration, Women's Rights | 0 Comments
In solidarity with people in Iran 💪🔥 On the situation in Iran from Amnesty International:On 13 September 2022, Iranian Kurdish woman Mahsa Amini was arrested in Tehran by Iran’s so-called “morality” police. Eyewitnesses reported seeing her being...
by Monika Kozub | 12 May 2020 | Beauty & Care, DIY | 0 Comments
I decided to create a series of blog posts about simple pleasures we can enjoy during the coronavirus lockdown. The all need to be: A) cheap (or free), B) easy to make at home, C) give you a chance to unwind and relax. Today my first episode about...
by Monika Kozub | 12 July 2022 | Inspiration, Photography | 0 Comments
Inspired by the quote from Daisy Alioto “The girl boss is dead, long live the girl moss (lying on the floor of the forest and being absorbed back to nature).” I think there’s been enough praising for pushing it through, leaning in and striving to...
by Monika Kozub | 20 June 2022 | Inspiration, Photography, Sex & Senses | 0 Comments
I was thinking recently of how we tend to associate pleasure with something guilty, sinful, that has to be limited. Whereas it should be otherwise: if something brings you pleasure, and you don’t hurt anyone, why shouldn’t you have as much as you...
by Monika Kozub | 23 June 2022 | Inspiration, Photography | 0 Comments
I‘m a bit more quiet lately, taking my time to enjoy the nature and wild creatures surrounding me in upstate New York, where I‘m visiting my boyfriend‘s family. It‘s a true cuteness overload: squirrels, chipmunks, bunnies, humming birds, fireflies...
by Monika Kozub | 10 October 2022 | Menstruation, News | 0 Comments
We had the pleasure to be screened at the 4th edition of Female Filmmakers Festival in Berlin on October 9th. The annual five day film event features screenings of international short & feature films of all genres as well as a hand-picked...


